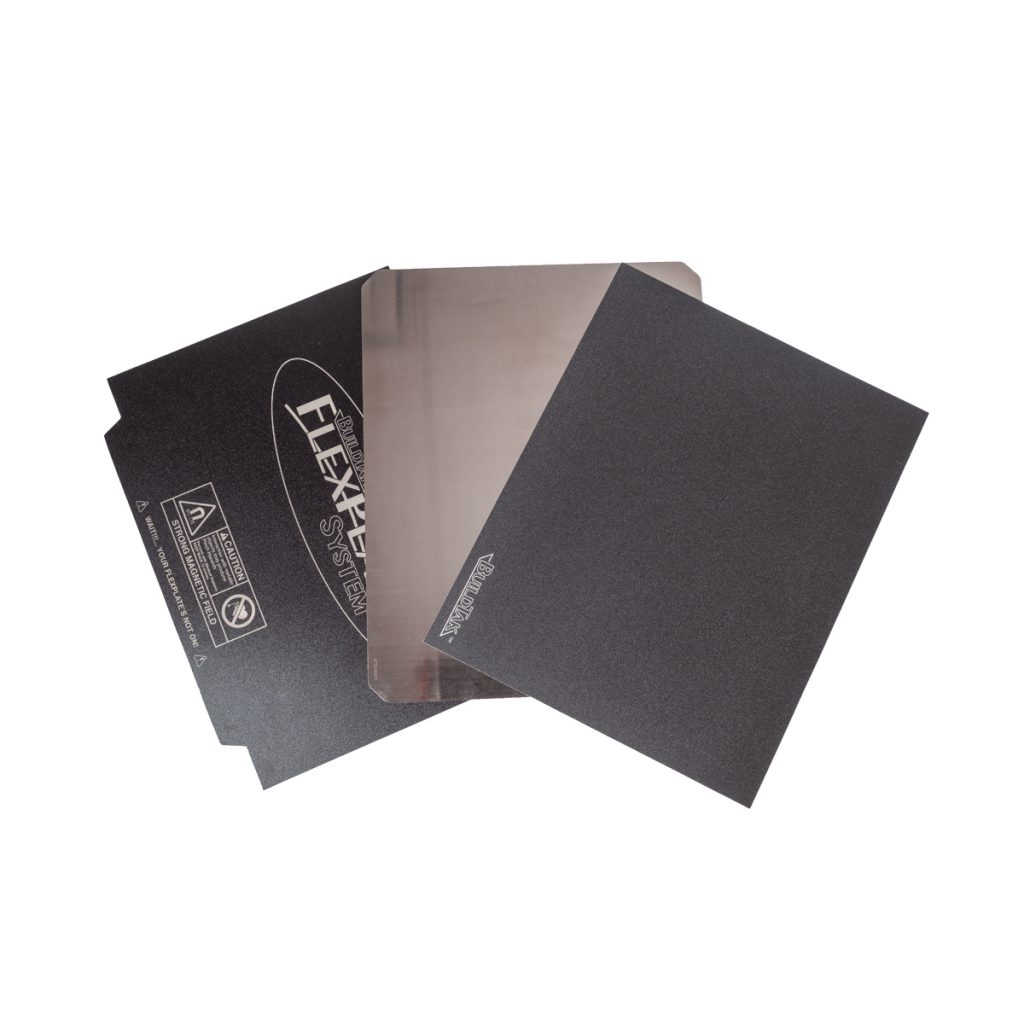
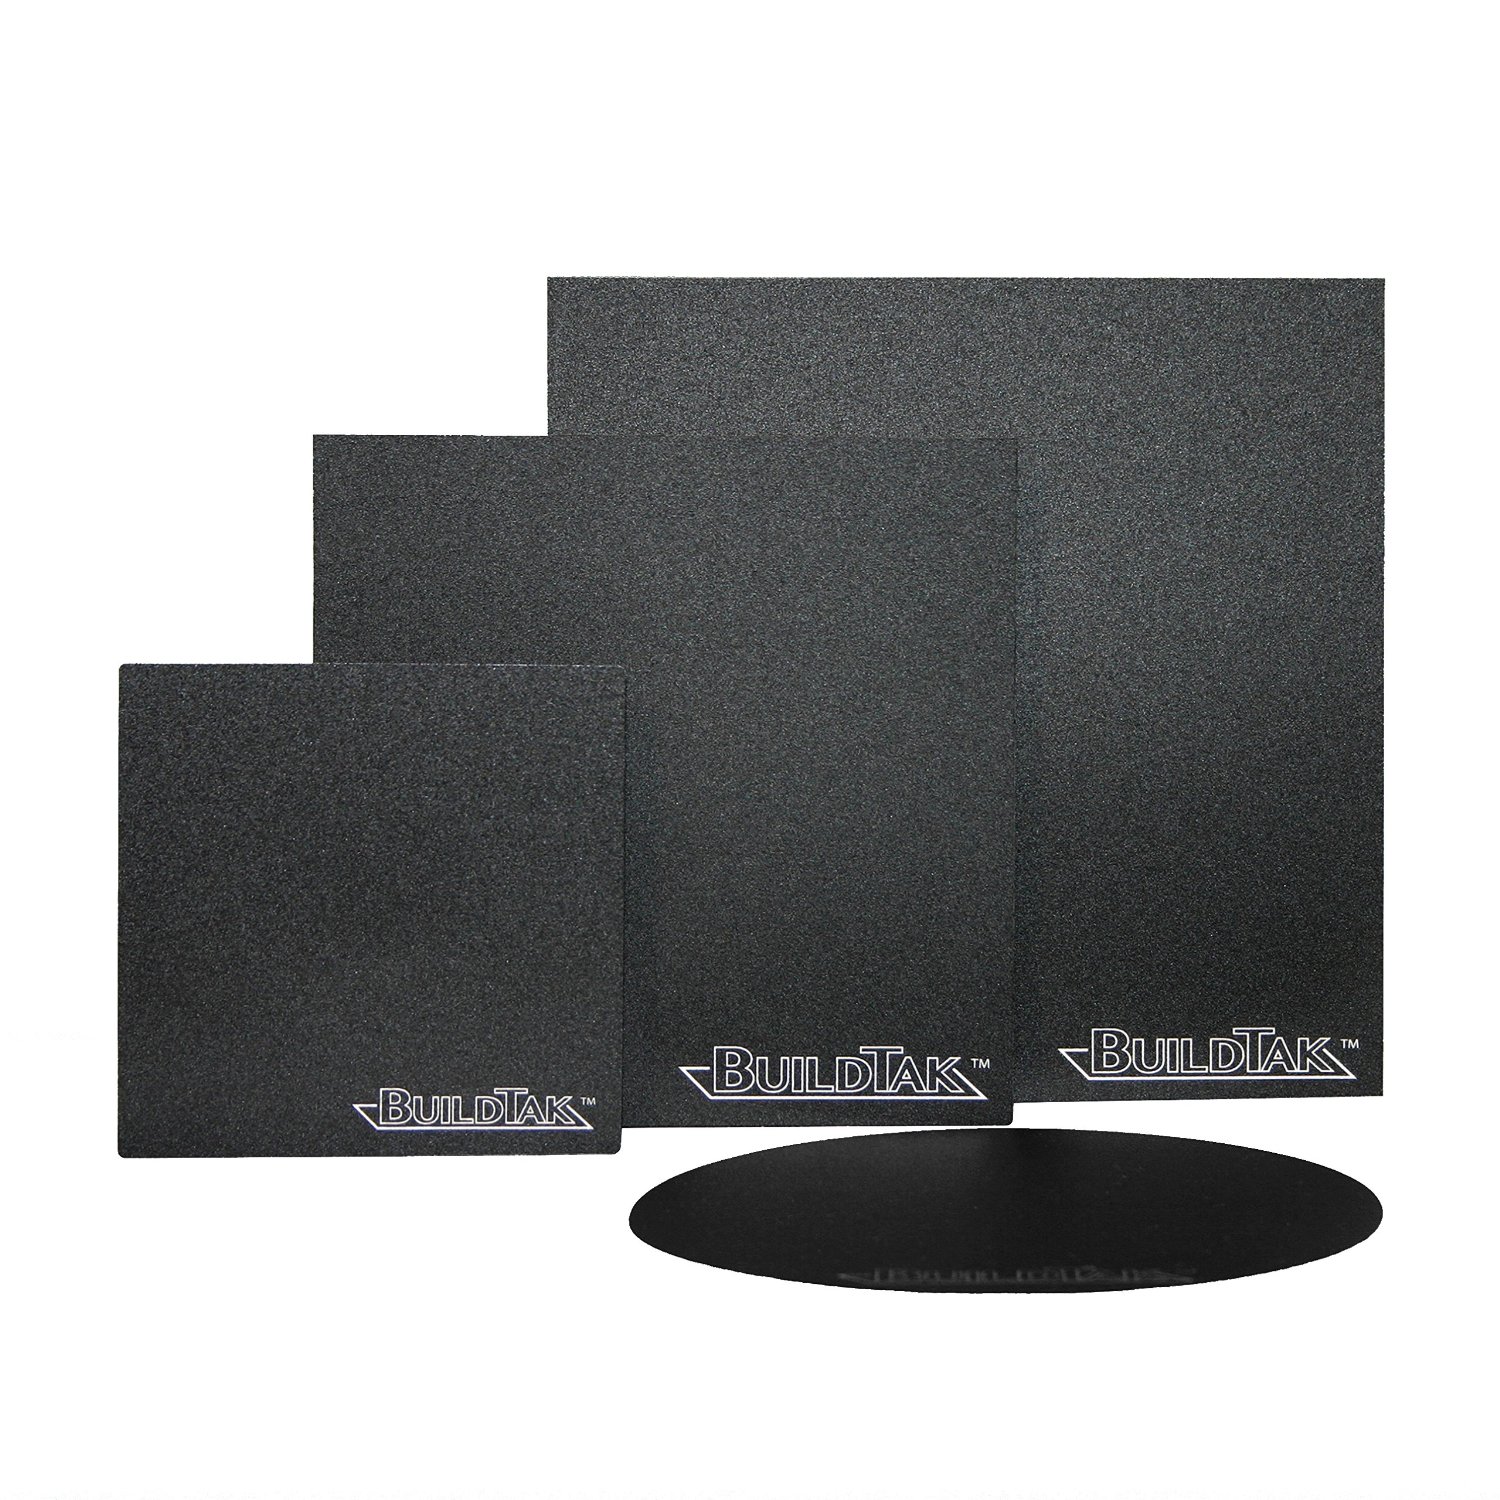
BuildTak is a thin sheet of heat-resistant material designed to adhere to FFF 3D printers’ build plates with a special adhesive on one side and a uniquely textured surface (to allow product stability and straightforward removal of printed parts). BuildTak is the name of the products’ manufacturer, who sells a range of “BulidTake” sheets — the Original 3D Printing Surface, the PEI 3D Printing Surface, and the Nylon+ 3D Printing Surface. BuildTak comes in a range of sizes and shapes. Can you actually cut BuildTak?
You can cut BuildTak’s 3D Printing Surfaces to fit your 3D printer’s build plate if BuildTak does not have a pre-measured size that will fit your printer, or if you ended up with the wrong size. Simply use a razor blade or “Exacto” knife and metal ruler to cut your printing surface to size before peeling away the backing from the adhesive size.
BuildTak offers a range of products for dozens of different printers, build plates, and filaments. In the unlucky event that you don’t have a standard sized build plate or end up with the wrong sized BuildTak, it can be trimmed easily. That information comes straight from the manufacturer’s mouth.
What sizes does BuildTak come in?
The odds are good that you’ll never have to cut a sheet of BuildTak to fit your printer’s build plate. BuildTak offers a range of three types of 3D Printing Surfaces depending on what type of filament you’re printing with.
There are 28 different size options for the Original product, ranging from 4.33” x 4.33” to 24” x 24” and including squares, rectangles, and circles. There are 21 different size options for the PEI 3D Printing Surface product, ranging from 5.1” x 6.3” to 24” x 24” and including squares and rectangles. There are 14 different size options for the Nylon+ product ranging from 5.1” x 6.3” to 19.7” by 19.7” including squares and rectangles.
Find below a table setting out every size option available as of June 2020 in each of BuildTak’s product lines, together with the 3D printer model for which the size is intended. Here, we’ve referred to sizes and inches, but BuildTak specifies sizes by both inches and millimeters. Check the specifications for your 3D printer model carefully to select the right size from the appropriate product line.
You may find that the physical dimensions of your build platform are slightly larger than the available BuildTak products. That may not mean that the BuildTak products are too small. Rather, the physical dimensions of your build platform is not all printable area. BuildTak’s Printing Surfaces are designed to cover the printing area of the build platform not necessarily every square millimetre of the surface area of the build platform.
BuildTak Printing Surfaces – Available Formats & Size Options
| BuildTak Original 3D Printing Surface | BuildTak PEI 3D Printing Surface | BuildTak Nylon+ |
| Appropriate for printing with PLA, ABS, HIPS, PET+, Brick, Wood and Flexible (TPE) filaments | Appropriate for printing with PETG and compatible with PLA, PLA blends, ABS, and TPU/TPE (subject to material-specific instructions) | Appropriate for printing with Nylon |
| 4.33” Diameter (MP Mini Delta) | 5.1” x 6.3” (Monoprice Mini) | 5.1” x 6.3” (Monoprice Mini) |
| 4.5” x 4.5” | 6.5” x 6.5” (Ender 2) | 6.5” x 6.5” (Ender 2) |
| 5.1” x 6.3” (Monoprice Mini) | 6.25” x 9.25” | 6.25” x 9.25” |
| 6.1” x 6.1” (Flashforge Finder) | 6.5” x 10” (Makerbot 2X) | 6.5” x 10” (Makerbot 2X) |
| 6.5” x 6.5” (Ender 2) | 8” x 8” (original i3) | 8” x 8” (original i3) |
| 6.5” Diameter | 8.66” x 8.66” (i3, A8, Duplicator 6, Maker Select) | 8.66” x 8.66” (i3, A8, Duplicator 6, Maker Select) |
| 6.25” x 9.25” | 8” x 10” (Makergear) | 8” x 10” (Makergear) |
| 6.5” x 10” (Makerbot 2X) | 8.5” x 12” (BCN3D Sigma) | 8.5” x 12” (BCN3D Sigma) |
| 6.5” x 11.5” (Makerbot Rep) | 9” x 10” (Ultimaker 2, Prusa MK2) | 9” x 10” (Ultimaker 2, Prusa MK2) |
| 8” x 8” (original i3) | 9.25” x 9.25” (Creality Ender 3) | 9.5” x 10” (Prusa MK3) |
| 8” Diameter | 9.5” x 10” (Prusa MK3) | 10” x 10” (PrintrBot Plus, Robo R1+) |
| 8.66” x 8.66” (i3, A8, Duplicator 6, Maker Select) | 10” x 10” (PrintrBot Plus, Robo R1+) | 12” x 12” (CR-10, FT-5, Black Widow) |
| 8.96” x 8.96” (Robo R2) | 10.24” x 12” (Flashforge Guider II) | 16” x 16” (gMax, S4, T-Rex 2) |
| 8” x 10” (Makergear) | 11.8” x 11.8” (Taz 6) | 19.7” x 19.7” (S5) |
| 8.5” x 12” (BCN3D Sigma) | 12” x 12” (CR-10, FT-5, Black Widow) | |
| 9” x 10” (Ultimaker 2, Prusa MK2) | 13.07” x. 13.39” (Railcore II) | |
| 9.25” x 9.25” (Creality Ender 3) | 12” Diameter (Rostock Max) | |
| 9.5” x 10” (Prusa MK3) | 16” x 16” (gMax, S4, T-Rex 2) | |
| 10” x 10” (PrintrBot Plus, Robo R1+) | 18” x 18” (gMax 2) | |
| 10.24” x 12” (Flashforge Guider II) | 19.7” x 19.7” (S5) | |
| 11.8” x 11.8” (Taz 6) | 24” x 24” | |
| 12” x 12” (CR-10, FT-5, Black Widow) | ||
| 13.07” x. 13.39” (Railcore II) | ||
| 12” Diameter (Rostock Max) | ||
| 16” x 16” (gMax, S4, T-Rex 2) | ||
| 18” x 18” (gMax 2) | ||
| 19.7” x 19.7” (S5) | ||
| 24” x 24” |
If you aren’t able to find the precise required size for your FFF 3D printer for the filament material you use, choose the next largest size option in the correct product line.
Installing BuildTak

BuildTak’s downloadable installation instructions include just four easy steps.
- Clear and clean your empty build platform, then wipe it down so it is dust, dirt, hair, and debris-free
- As for size, you can simply carefully — being careful not to cut yourself or to scratch the surface of the material — trim any excess dimension from the sheet before removing the adhesive backing, and using a razor blade, Exacto knife, and metal-edged ruler
- Remove the adhesive backing from the trimmed (if necessary) Printing Surface. Place the sheet on the bare build platform, then use a credit card or decal application tool to firmly and smoothly press the sheet onto the plate, working from one side to the other. (You can also purchase an optimum tool for this purpose from BuildTak.)
- Re-level your build plate surface and confirm the proper height of your nozzle
You can preserve the life of your BuildTak printing surface by following these four simple precautions:
- Remove parts using a spatula or palette knife that has smooth and rounded corners. (You can also purchase an optimum tool for this purpose from BuildTak).
- Don’t use solvents such as acetone to clean the printing surface
- Don’t drop or press a hot nozzle onto the surface of the BuildTak sheet
- Operate your 3D printer’s auto leveling system — if any — when the nozzle is cool.
When it comes to nozzle height (the size of the gap between the nozzle and the surface of the BuildTak sheet, BuildTake offers some tips for finding the sweet spot. You can find those in the downloadable instructions.

