
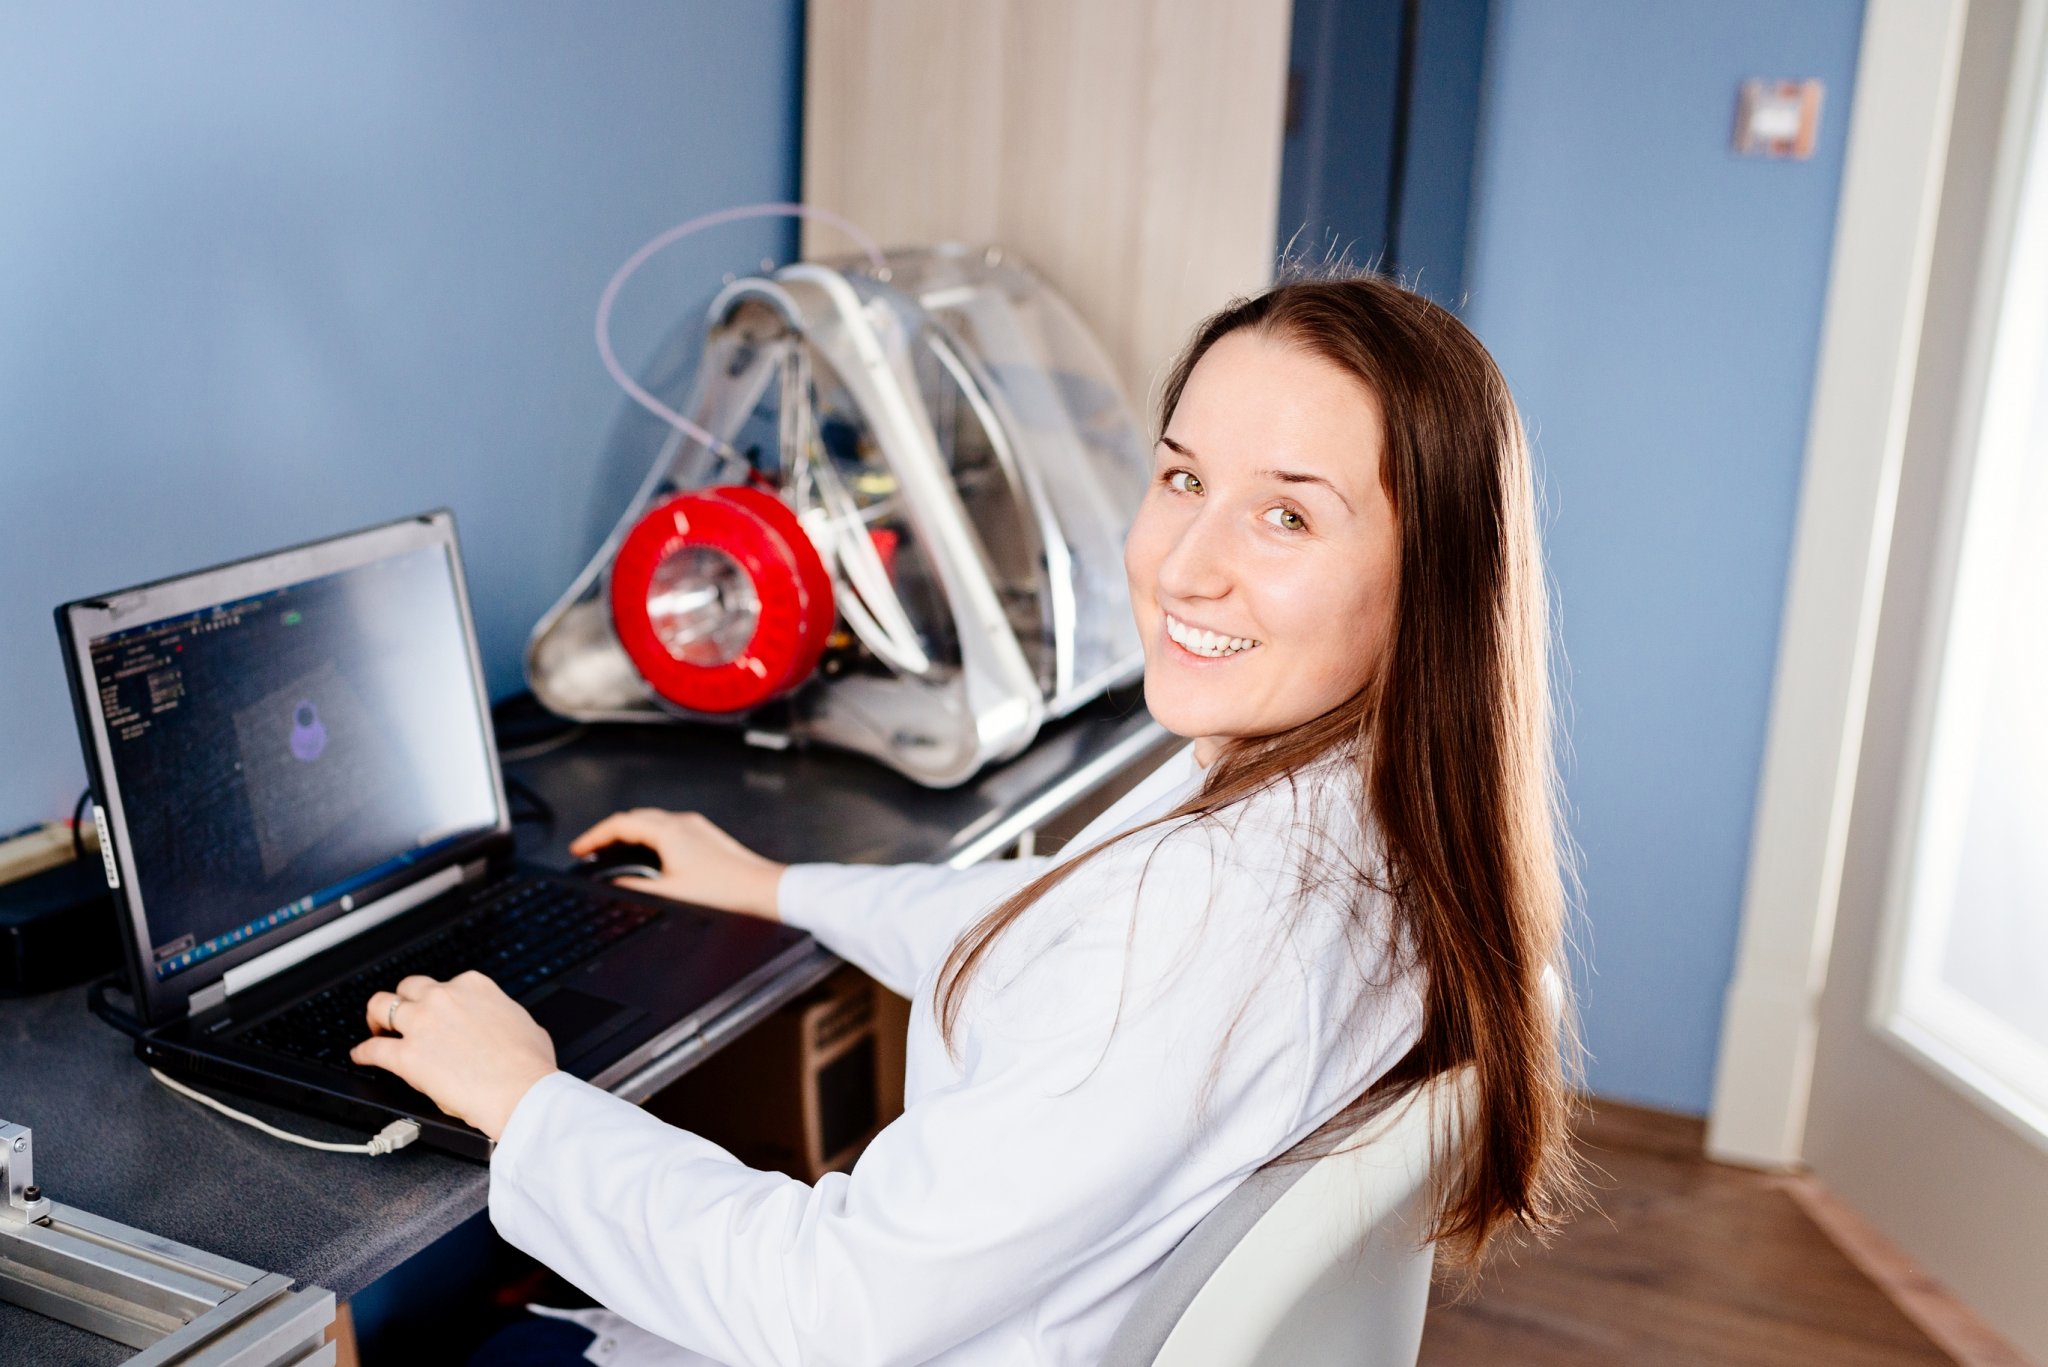
You have done it, you’ve unboxed your first 3D printer and it is standing safely on its pedestal, or the floor because you have no space left. Now you need to start printing things, and to print things on your 3D printer you will need to use the software. Understanding what this software is and how it works can be the biggest hill that you may have to climb.
3D printing software works by translating the shapes you have made and translating them into physical positions that your printer understands. Most 3D printing software will work with basic geometric shapes that you can combine, manipulate, and transform into anything that you can imagine. Before 3D printing was popular the software used for 3D printing was called surfacing technology.
This is just the basic technology of how 3D printing software works and many of the older programs have changed drastically. Further, the free programs that you can use may not always include the best slicer around, this can mean prints that are not perfect and most have problems. To understand how the software works you will need to know what programs they are out there, how to communicate, and even what all the other things are that they can do.
What is the best 3D printer software?
There is no single program that will be magnificently better than all other 3D printing software, some printers are purpose-built to work with certain programs. While other programs can cost you an arm and a leg but will be able to work magnificently on all 3D printers out there. The challenge of owning a 3D printer starts with what program you currently have.
It is vital that you also learn everything about the program that you are using, many of them can do the same things but require more work. A simple example of this is that most of the free programs that are capable of working with multiple printers will have a few features missing. However, these programs can usually have addons installed that makes them more capable of your needs than almost anything else.
Autodesk fusion
A more popular program to use, Autodesk fusion has several key advantages over some other programs that are used, and on the major flaw. This is most likely the program that will be used by your favorite YouTuber, or online programmer. Autodesk can comfortably and easily create solid, freeform, or mesh models while rendering everything that you may need.
Being so versatile means that it can do more than just create your 3D prints, with some people using it to create models of homes and kitchens. However, even with the free for personal use, the point remains that Autodesk Fusion is entirely online, which means the processing is done completely on the cloud.
AutoCAD
AutoCAD is almost exactly like Autodesk, with one especially important detail added on, it is the much older and superior version. With Autodesk, there are some processing, sizing, and surfacing restrictions that the program just is not able to do. AutoCAD has been a leading surfacing and 3D design program for many years, and the abilities of this program show.
However, there are two distinct disadvantages that you will face, especially as a hobbyist in the 3D printing world. AutoCAD is an expensive program to have, even for a month to month, it also has a steep learning curve for complex models. This has led many enthusiasts to stay away from AutoCAD until they are much more serious. It should be remembered that in the engineering world being proficient in AutoCAD is a highly sought-after skill.
Solidworks
When it comes to the all-in-one package that has been at odds with and winning, against AutoCAD for many years then looks no further than Solidworks. If you have ever been in the automated world of engineering then you will recognize this name, it is the leader in 3D design and has been used by the likes of Pixar to create an animation for Mercedes Benz to design F1 cars.
The advantages of Solidworks is hard to list in such a short space, however, there are two things that all hobbyists should be aware of. Similar to AutoCAD, Solidworks is rather expensive, with several different versions of the program available for those that are still learning. There is just one other thing that you need to know, as Solidworks is such a strong program to use for any 3D modeling it requires a strong computer system to run properly.
Ultimaker Cura
This is most likely to be the program that you would have with your 3D printer, especially if you bought an Ultimaker brand of printer. An entirely free program this is a strong software to use for almost any 3D printing applications that you may have. Some of the best 3D prints have been done on this free program, mostly because you can get it entirely free from their website.
Ultimaker Cura is perfect for hobbyists that only want to create smaller projects with printers that are supported by Ultimaker. However, the program is limited owing to the super focus on 3D printing, which means it can be hard to create certain surfaces and the processing power can be a bit slow. You won’t notice this at all when you are using Ultimaker printers or while you are creating smaller projects.
FreeCAD
This is the one you are more likely to know and use if you have been working with more unknown brands of 3D printers. FreeCAD is capable of doing the same things as Ultimaker Cura, with a few advantages that have made it a fan favorite for those that love to do things themselves. FreeCAD uses an addons system that allows creators to add features as they need them.
Further, the chances are that most full enthusiasts will be using Linux as their primary operating system. FreeCAD can operate on all three of the main operating systems, which is why so many creators love to use it. Sometimes the flexibility to do whatever you want with a program is the biggest draw that most experience.
Meshmixer
Much more focused on something that few hobby printers will be focusing on is the ability to scan things into a program and 3D print it. It may seem odd but this is the way that many creators start working on masks and helmets once they learn how. The ability to scan something into a 3D modeling program, adjust, and then the print is an important ability of 3D printers.
Meshmixer is one of the best for making a scan smooth and adding in new shapes, however, it does not always work as well when creating pure prints. This is because the program is more focused on making rough models that are scanned or made on a pc ready to be printed. Meshmixer is best used in tandem with more complex programs such as FreeCAD but can be used entirely on its own and a slicer.
Blender
You may have heard of Blender being used to test the performance of PCs across the world, this is because Blender is easily one of the best free modeling programs on the market. Capable of making lifelike renders, the program can be modified to run with most 3D printers, however, you will need to install a suite of addons.
Blender like FreeCAD can be used on almost every operating system, but it allows you to add details that few other free programs can match. However, this is also the reason that you would need to use something like Meshmixer as Blender can cause too many fine details to be added to the print. 3D printers are not always capable of printing everything that is rendered, and Blender can easily require too much fine detail.

While you are assembling your 3D printer and getting everything ready you will find yourself looking at either a booklet that points to a website or a set of disks. We know that ignoring instructions can be vital to saving face, but it will be worth it to open up these or following the link. Most 3D printers will always include their suite of programs for you to use.
A 3D printer is expensive, which is why the proper manufacturers will be providing you with all the programs that you will need to start printing right out of the box. These are the basic programs, like the Ultimaker suite of programs that you can download and use even without a 3D printer. Some of the largest 3D printer manufacturers will have their programs available online, allowing you to experience them before buying them.
However, it should be noted that when you are using unknown or cheaper brands of 3D printers the programs might be glitchy or bugged. With some 3D printing programs almost being unusable, which is where the free programs come into play. Included 3D printing programs can also be unable to render some of the more complex designs you have. Using paid programs ensures that you can achieve the quality of prints that you want.
What are the steps to 3D printing something?
Now that you know which are the best programs that you can use, you will need to master the three steps to printing. These are basic and when you are still learning there will be many other steps that you go through, usually because you made a mistake or miscalculated. When you become a master 3D printer you will be able to do this with ease.
These are the basics of 3D printing and mastering the programs you are using is a different monster that you need to learn. Many of the best 3D printing programs will be able to do all of these as they are made specifically to make your life easier. Just be sure that everything is as you expect it to be, as some free programs can have weaker programming for certain parts.
Design the print
The first part of any 3D print is designing the actual part that you need, whether this is just a block, ball, or boat. When it is your first time creating something, it may be easier to add onto already existing designs or make something easier to print. Most people that open and set up their first 3D printer want to start with the grandest designs that they have in mind.
This leads to prints that take forever and usually fail to print properly because something needs to be adjusted. The printing software that you are using has many settings and adjustments that you need to make to ensure that everything works properly. When you are designing something simple it should be noted that you have to work towards ensuring that your printer can easily print it.
Use a slicer program
Slicer programs are complex and odd things that few outside the 3D printing community know exists. This is because even those that are avid followers only ever see completed prints or things that are busy printing, usually assuming that the creator of a model already portioned the print into the right sizes.
Slicers are built into more advanced programs like AutoCAD, Solidworks, or Ultimaker Cura, however, most of the free programs that you can use will not have proper slicers in them. There is a large range of free slicers on the market that will help you get your models perfect for the machine to print. Slicers are also when you need to ensure the model won’t fall over while printing.
Decide on using supports
Possibly the most frustrating and important part of 3D printing more complex models are the supports that have to be designed. Most slicers will be able to detect when they are needed or allow you to add in supports that will help with the print. You need to ensure that each piece that is being printed needs as little as possible support.
Supports are there to hold together more flexible and sensitive parts for your print, usually holding in place parts that can move or holding up parts that will be larger at the top than the bottom. Once you are truly proficient at designing and slicing what you need you will be able to lessen supports, however, most supports can easily be removed or sanded away when the print is complete.
How important is the programming language you are using?
This is probably one of the most confusing things you will learn about your 3D printer or any other machine that can be used for manufacturing. Almost every machine on earth uses a different language, and each one needs a program that understands and speaks that language. For 3D printers, this is the same, with almost every manufacturers using their specific flavor of program language.
Fortunately, this has become slightly more standardized, with the G-CodeL programming language that translates everything on the model into movement. While this is more standardized manufacturers can still add locks that need to be used, and finding a free program that can talk to a 3D printer can be a challenge. Programs like AutoCAD or Solidworks pay for the licensing fees to allow their programs to talk to almost every printer on earth.
This is why it is almost always worth it to spend the extra money on getting a proper 3D program, as some of the more complex printers may need it. Ultimaker is one of the few 3D printers out there that has proper quality software to accompany their printers, with most other printers giving licenses to use other programs or referring to free programs.
What are the steps you should be taking to learn your 3D software?


Whether you are using the latest, most expensive software on the market or simply a free program, you will need to know how to use it. A challenging prospect when you consider each program has a different layout, uses different keyboard shortcuts, and most importantly has icons for the tools. Usually, even the best designers on AutoCAD need a few days to familiarize themselves with something like Solidworks.
If this is the first time you are going to be using any 3D modeling programs you will need to do the same, ensuring that you know each part of the program well enough to comfortably adjust settings. Sometimes people make the mistake of wanting to only learn how to make 3D models once they have their 3D printer, causing confusion and misunderstandings that can cause too many mistakes made.
1. Choose something familiar
This may seem obvious, but if you are already familiar with some types of design software it would greatly benefit you to stay in the same family of programs. Many times, people want to use entirely new and foreign programs hoping to use on specific ability, and this slows down the progress that they make. When a program is used you need to ensure that it does more than just the once feature that you need.
Some of the biggest mistakes are made when new creators go out of their way to use a new program and then they are unaware of limitations. If you are using any type of 3D modeling program for the first time, you must choose something that does not feel overwhelming to you, usually, something without addons as these can make things much more complicated.
2. Begin with basic shapes
You may have the vision for a completed masterpiece of something in your mind’s eye but trying to start immediately by making it will only cause you headaches. A common mistake first time 3D printer users make is trying to create something too complex for their first few tries, or sometimes jumping the shark after a few basic shapes.
Designing and printing a few basic shapes will allow you to comfortably learn what needs to be done to get something almost perfect. A basic square box may seem simple but seeing how printing speeds work and changes textures on something that can be printed in less than an hour is much more preferable than something that takes several hours to complete.
3. Learn complex shapes
Once you are entirely happy with the outcome of your plain old squares you need to start working on more complex shapes. When we say complex we don’t mean pyramids, triangles, or octagons, these are all easy and simple to create on software and to be printed. 3D printers can do much more complex shapes than what we are used to and having a firm’s grasp on the basics will take a lot further.
A popular thing to make additions to when printing complex shapes is the small boat that we all know and love. Most creators prefer to add their logo on the boat somewhere, however, you can also add a flagpole, extend it to be longer, or even just change the shape entirely. Understanding how complex shapes are printed and sliced will help you design in the future.
4. Watch instructional videos
This is the most vital part of any program because few if no instructions that you can only read will give you the same level of insight as instructional videos. Ultimaker has loads of videos on YouTube about how to use the software, while most other programs have full courses that are being taught to understand them.
Taking a Udemy course on programming and using software like Solidworks or anything from AutoCAD is the best way to learn the skills you need. There are thousands of sources out on the internet that you need to use to learn everything, as even the most experienced designer can and will be learning something new every day.
5. Create custom designs
This is perhaps the one thing that many people fail to do, usually preferring to just modify the work that someone else did. You should always work towards creating your custom objects, not only will this easily show your weak points, but it will also allow you to practice your skills. The best way to enter custom designs is to go off an idea you’ve already seen and then start making it from scratch.
This is usually done by designers who have a picture and then start to digitally fabricate it using the modeling software. If you do this you will regularly hit a wall, where you will be unsure of what you need to do, pushing you to learn new skills and understand the program you are using so much more.
6. Start printing
As painful as it may seem, you will need to start printing the projects that you are working on, simply because you need to see them. It can be quite the experience of seeing something in your hands after it has been printed for the first time, especially when you are making it for the first time. A common mistake made by many is never printing their projects while leaving them entirely 3D rendered.
If you are making something larger, that is also in several parts, you should decrease the scale, and then start printing. It may seem obvious but many people forget that 3D printing is not meant for arts and crafts originally, but instead for rapid prototyping. Not using it to rapidly prototype a 3D print that you need to be larger can be a mistake you regret when small mistakes have been made.
7. Learn from your mistakes
It should go without saying, but when you make a mistake you should learn from it, going out of your way to ensure you never do it again. Many engineers, designers, or just enthusiasts make mistakes and overreact. Getting angry or disheartened to the point where they forget how they made the mistake in the first place.
We are not saying to keep a journal of every mistake that you have made but making mental notes or just sticky notes with habits that cause bad designs will go a long way in improving everything. An unfortunate mistake that is repeated a lot is orienting things wrongly, causing parts to not completely work together.
Conclusion
Understanding how to use and program the software that controls your 3D printer will allow you to be much more proficient at making what you need. When you are comfortable using a program, you can easily make any shape you can think of, even things you are yet unable to properly imagine.
Just be sure that the things you are creating all fit together, a common mistake made by many is the lack of understanding just how strong their programs are.